 How To Make A Cornish Hedge Artwork
Cornish hedges are a wonderful source of patterns, colours, shapes and textures, changing with the seasons, full of flowers, lichens, mosses and wildlife. There are many different types in West Penwith – find your favourite! This activity might take a little time, but you will end up with a really effective artwork that can stand up or go on a wall. It could also be a great activity for the whole family, as you could make it together. It can be any size that you like.
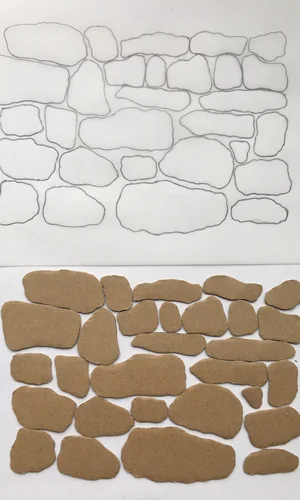
1. Draw the shapes in a Cornish hedge – you could use a photograph or go on a local walk to find one near you. You only need to draw the outlines of each shape, a bit like a mosaic or jigsaw puzzle. The pieces will be cut out, so you could draw straight on to thin card or trace from your photograph.
2. Trace your drawing on to thin card and cut the shapes out. Thin card is easier, but thicker card will make your stone shapes stand out more. You could re-cycle cardboard packaging [I used a brown cardboard pizza base].
3. Cut out a rectangle of cardboard that is a little smaller than the final size of your ‘hedge’. This will be your backing, and the stones will overlap the edges. Paint this a mixture of dark earthy colours.
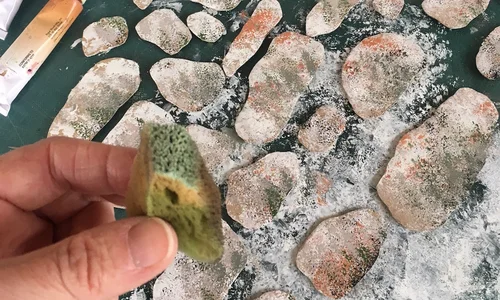
 4. Now you have cut out your cardboard stones, you are ready for the fun part! Lay them out on some newspaper or old plastic and find some paints to make the colours of the stones and plants for your Cornish hedge. Brown, black, white, yellow, green & crimson will give you a good range to mix with a little water on an old saucer or tray. Using old pieces of washing up sponge, or little balls of scrumpled up newspaper, dip them in your paint and press on to your cardboard pieces. Build up the colours and textures until you are happy with the result.
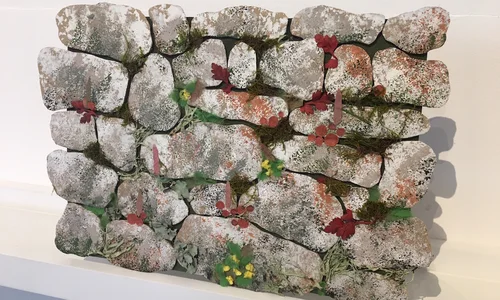
5. When they are dry, you are ready to stick your stones to the painted background. Look at your drawing as you build your wall, to remind yourself of where they go! If you lay the pieces over the outside edge of the background your wall will look more natural. I used a glue stick.
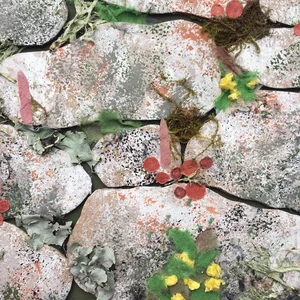
 6. I used a mixture of materials to ‘plant’ my wall. I gathered some old bits of lichen, leaves and moss from my garden to stick on, and also used scrunched up tissue paper and coloured paper for primroses and pennywort. As all the spring flowers come out, see how many you can spot and name!
7. If you would like your artwork to stand up, you could stick a small re-cycled box behind it as a support.


